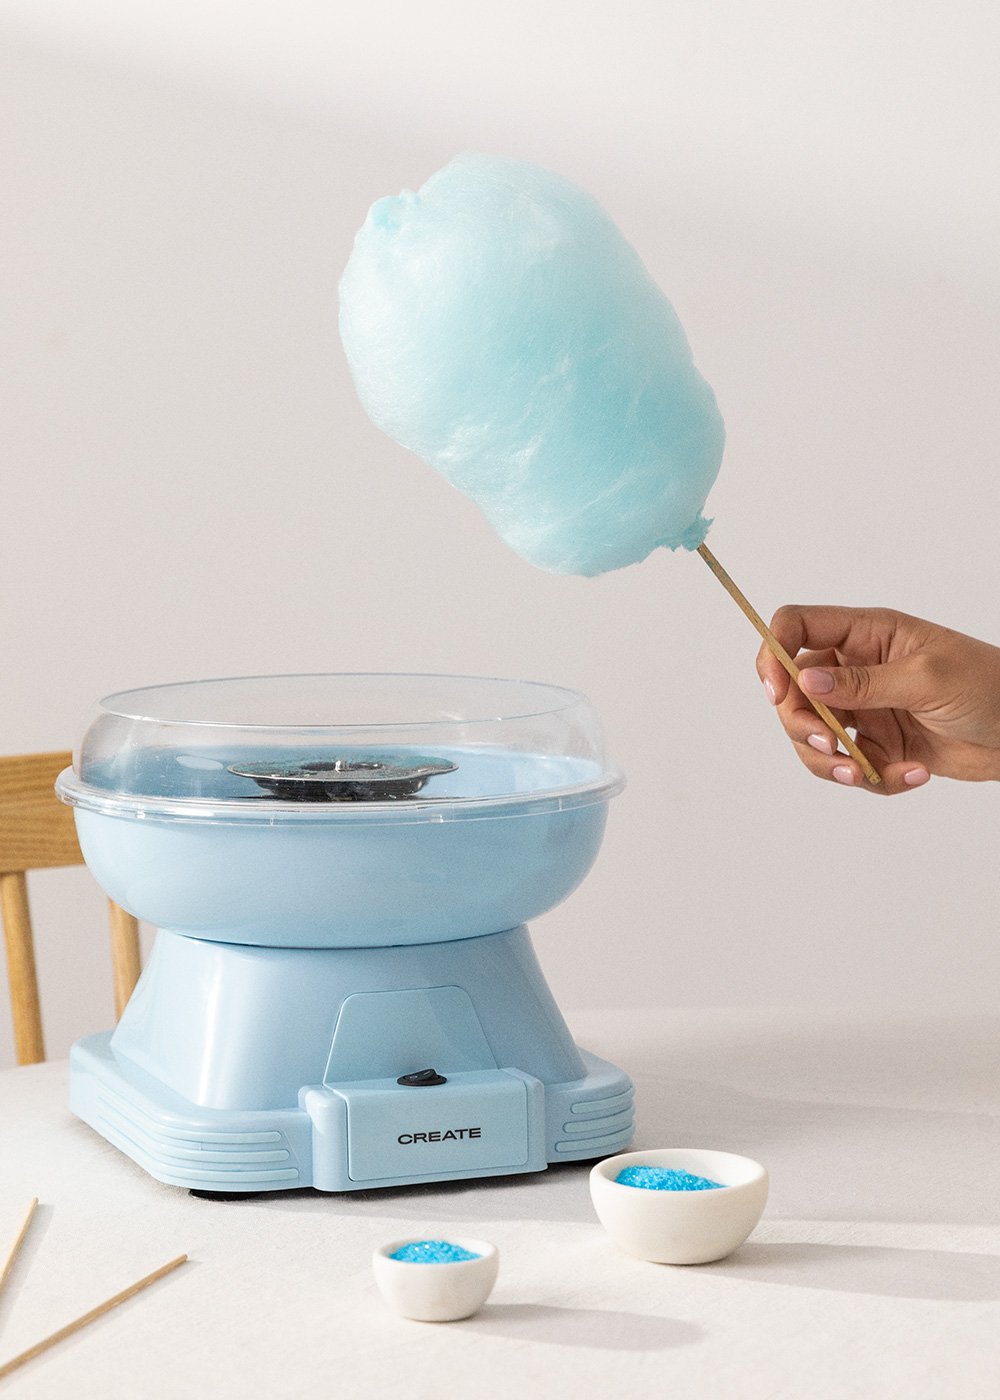
Candy floss, with its ethereal wisps of sugary delight, is a carnival favorite loved by both young and old. The joy it brings can now be recreated at home, and the best part? You don’t need a fancy machine! In this blog, we’ll take you through a simple and fun process of making candy floss in the comfort of your kitchen.
Ingredients:
- Granulated sugar
- Corn syrup (optional, helps prevent crystallisation)
- Water
- Flavouring extracts (optional)
- Food colouring (optional)
Tools:
- Whisk
- Wooden sticks or skewers
- Parchment paper or silicone baking mat
- Large saucepan
- Candy thermometer
Instructions:
- Prepare your Workstation: Set up a clean and organised workspace. Lay out your parchment paper or silicone baking mat for the candy floss to cool and solidify.
-
Sugar Mixture:
- In a large saucepan, combine 2 cups of granulated sugar with 1/2 cup of water.
- For extra smoothness and prevention of crystallisation, add 1 tablespoon of corn syrup (optional).
-
Dissolve and Boil:
- Gently stir the mixture over low heat until the sugar dissolves completely.
- Once dissolved, stop stirring and let the mixture come to a boil.
- Insert a candy thermometer and let it reach the “hard crack” stage, which is around 300°F (149°C).
-
Flavouring and Colouring (Optional):
- If you want flavoured or coloured candy floss, add a few drops of your chosen flavour extract and food colouring at this stage. Mix well.
-
Prepare Wooden Sticks:
- While the sugar mixture is boiling, prepare your wooden sticks or skewers by securing them to a stable surface. These will be used to collect the candy floss.
-
Cotton Candy Formation:
- Once the sugar mixture reaches the desired temperature, turn off the heat.
- Carefully drizzle the sugar mixture in thin streams over the wooden sticks, creating the classic candy floss threads.
-
Twirl and Shape:
- Use a whisk or fork to twirl and shape the candy floss as it falls onto the sticks. Work quickly before it cools and hardens.
-
Repeat:
- Repeat the process until you’ve made enough candy floss to satisfy your sweet tooth.
-
Cool and Enjoy:
- Let the candy floss cool and harden on the sticks. Once set, it’s ready to be enjoyed!
Conclusion: Now that you’ve mastered the art of making candy floss without a machine, the possibilities are endless. Experiment with different flavours and colours to create your unique spin on this classic treat. Share the sweetness with friends and family, and let the joy of homemade candy floss bring smiles to everyone’s faces. Happy spinning!
Leave a Reply